Painting your car is a great way to maintain your vehicle while also adding personal touches. Of course, when you paint your vehicle, you’ll have to follow the appropriate process of applying primer, paint, and then a sealant to lock that color in place. Get expert tips on how to prep a car for primer, paint, and sealer as you prepare for this project. With the best methods, you can rest assured things will go smoothly.
Tips for Applying Primer
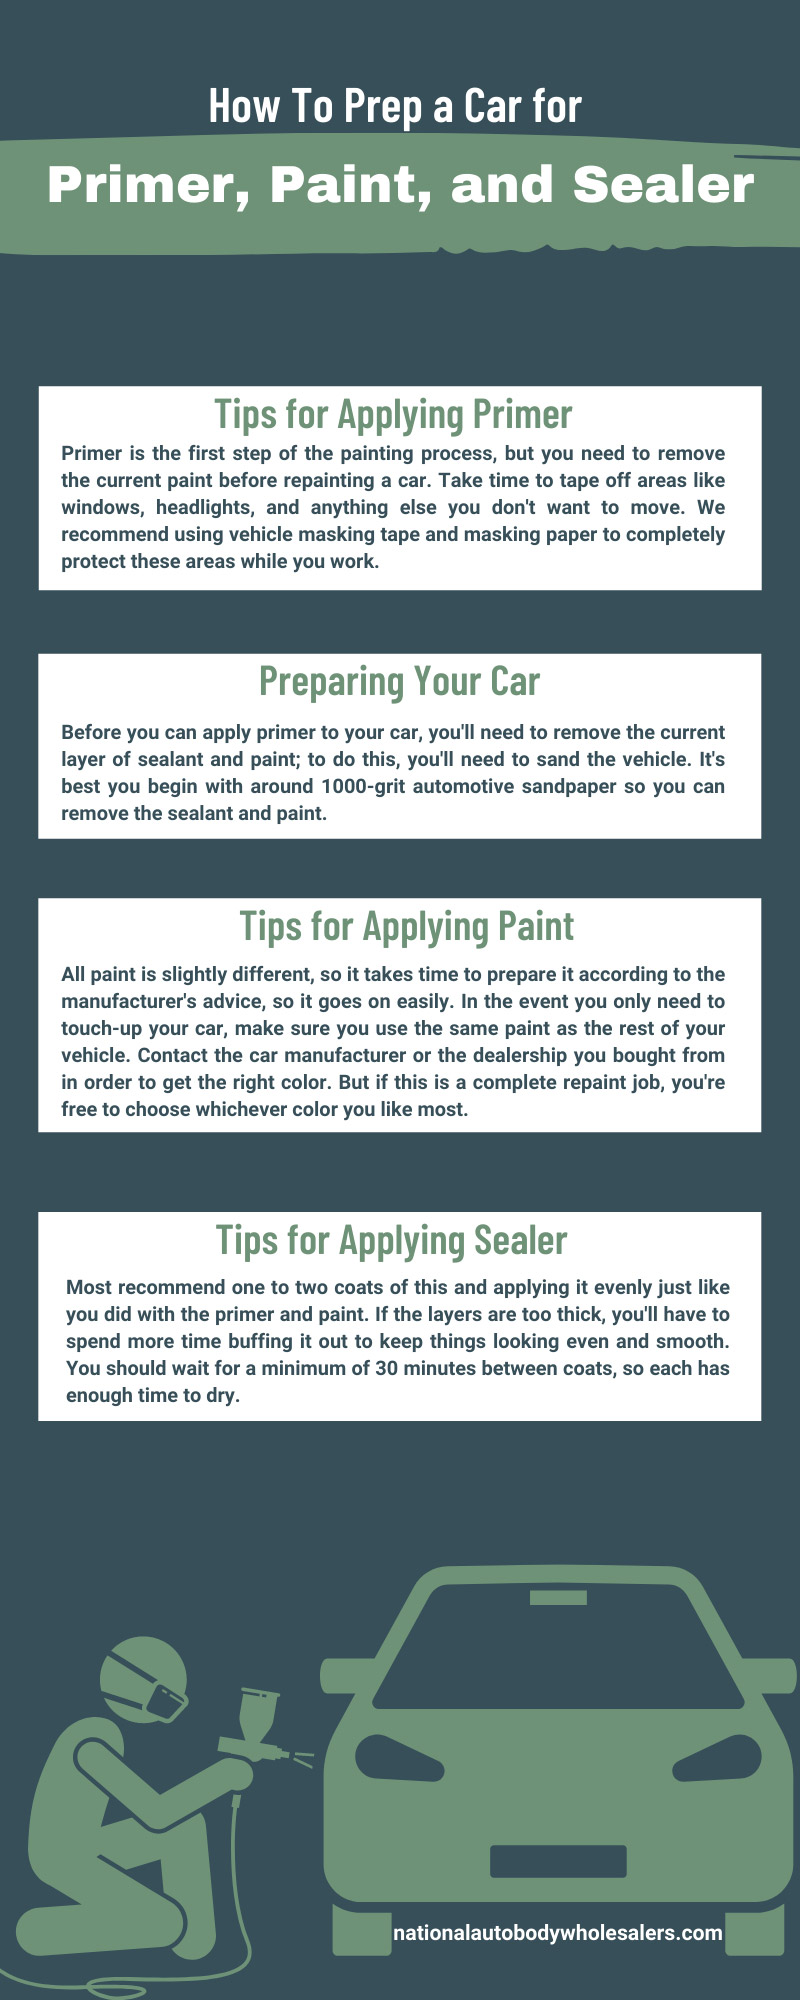
Primer is the first step of the painting process, but you need to remove the current paint before repainting a car. Take time to tape off areas like windows, headlights, and anything else you don’t want to move. We recommend using vehicle masking tape and masking paper to completely protect these areas while you work.
As you begin this exciting project, remember to wear the appropriate gear such as safety glasses, gloves, and a respirator.
Preparing Your Car
Before you can apply primer to your car, you’ll need to remove the current layer of sealant and paint; to do this, you’ll need to sand the vehicle. It’s best you begin with around 1000-grit automotive sandpaper so you can remove the sealant and paint.
Once you’ve removed the body paint, you may have to increase your sandpaper grit to remove any filler and primer. It’s best to go over the entire vehicle one last time when things appear done to ensure a smooth finish. The goal of this process is to expose the metal of the car.
Pro Tip
Experts recommend taping off areas of the car that you will not paint. By doing this before you sand the vehicle, you avoid damaging areas of your vehicle. National Autobody Wholesalers has all the supplies you need, including scuff pads for paint prep which can remove paint and primer.
Applying Primer
Once the metal body is all that remains, you can apply your primer. This is a vital step to painting a car as it helps protect the metal and gives the paint a surface to adhere to. Before applying your vehicle primer, you should clean off the vehicle and verify that any areas you will not paint remain well-covered.
Most people recommend applying two layers of primer, but if the vehicle still doesn’t appear well covered, you may need to add another coat. You should have completely covered the metal by the end of this process.
When the primer dries, you’ll want to look over the vehicle to double check that it’s smooth. If you notice drips, lightly sand the area using, at most, 600-grit sandpaper. Be careful not to remove the entire layer of primer and expose the metal as you do this.
Tips for Applying Paint
All paint is slightly different, so it takes time to prepare it according to the manufacturer’s advice, so it goes on easily. In the event you only need to touch-up your car, make sure you use the same paint as the rest of your vehicle. Contact the car manufacturer or the dealership you bought from in order to get the right color. But if this is a complete repaint job, you’re free to choose whichever color you like most.
You may have to apply some thinner to the paint so it goes on easily with your sprayer; do this little by little, so you don’t add too much paint thinner. Additionally, take time to mix your paint before adding it to your sprayer gun. The tip you use on the sprayer often depends on the type of paint since heavy paints require a larger tip than water-based car paint.
Apply your paint one layer at a time, allowing enough time to completely dry before adding the next one. If you notice that the color is coming out too thick, add a bit more paint thinner to the mixture and try again. You can also use paint thinner to touch-up drips once you’ve added your final layer of color. It’s important to note that it usually takes three to four coats of paint to evenly cover the vehicle.
Buying the Right Paint
As you shop for automotive paint, you have a lot more to consider than the color since it should also be high-quality. Better paints are less likely to fade due to UV rays, and after all this work, you’ll want your car to look amazing for years to come.
Tips for Applying Sealer
Now that your car looks fantastic with a fresh coat of paint, it’s time to lock those colors in and look great with a coat of sealant. Most recommend one to two coats of this and applying it evenly just like you did with the primer and paint. If the layers are too thick, you’ll have to spend more time buffing it out to keep things looking even and smooth. You should wait for a minimum of 30 minutes between coats, so each has enough time to dry.
It’s important to remember that sealant needs to cure, which means it cannot get wet for at least 10 hours; verify this with the manufacturer’s instructions for your product. Once the sealant cures, the car is safe to drive. Wait 60 to 90 days before adding a coat of wax to your car so the paint has time to completely cure.
Reasons To Paint Your Car
Knowing how to prep a car for primer, paint, and sealer is important as you begin this fun DIY project. If you’re still on the fence, benefits of painting your vehicle include:
- Maintenance: Scratches and body damage can lead to rust.
- Personalization: Make your car your favorite color.
- Increases value: Well-maintained cars are worth more.
While repainting your car may take a bit of time, it’s worth it because your vehicle will look amazing. Plus, if you’re a vehicle-lover, this is a fun DIY project!
National Autobody Wholesalers has all the supplies you need to prime, paint, and seal your car, so shop from a company you can count on for high-quality supplies.