People repaint their cars for various reasons, such as increasing the resale value or simply because they want to. Regardless of why you plan to repaint your car, one of the most important tasks is masking your vehicle to protect the areas you don’t want to paint.
While this process seems simple, you shouldn’t rush through it. By taking your time to mask your car, you’ll ensure things will be more precise. Keep reading this article for essential tips on how to master masking your car for a paint job so that your vehicle looks spectacular!
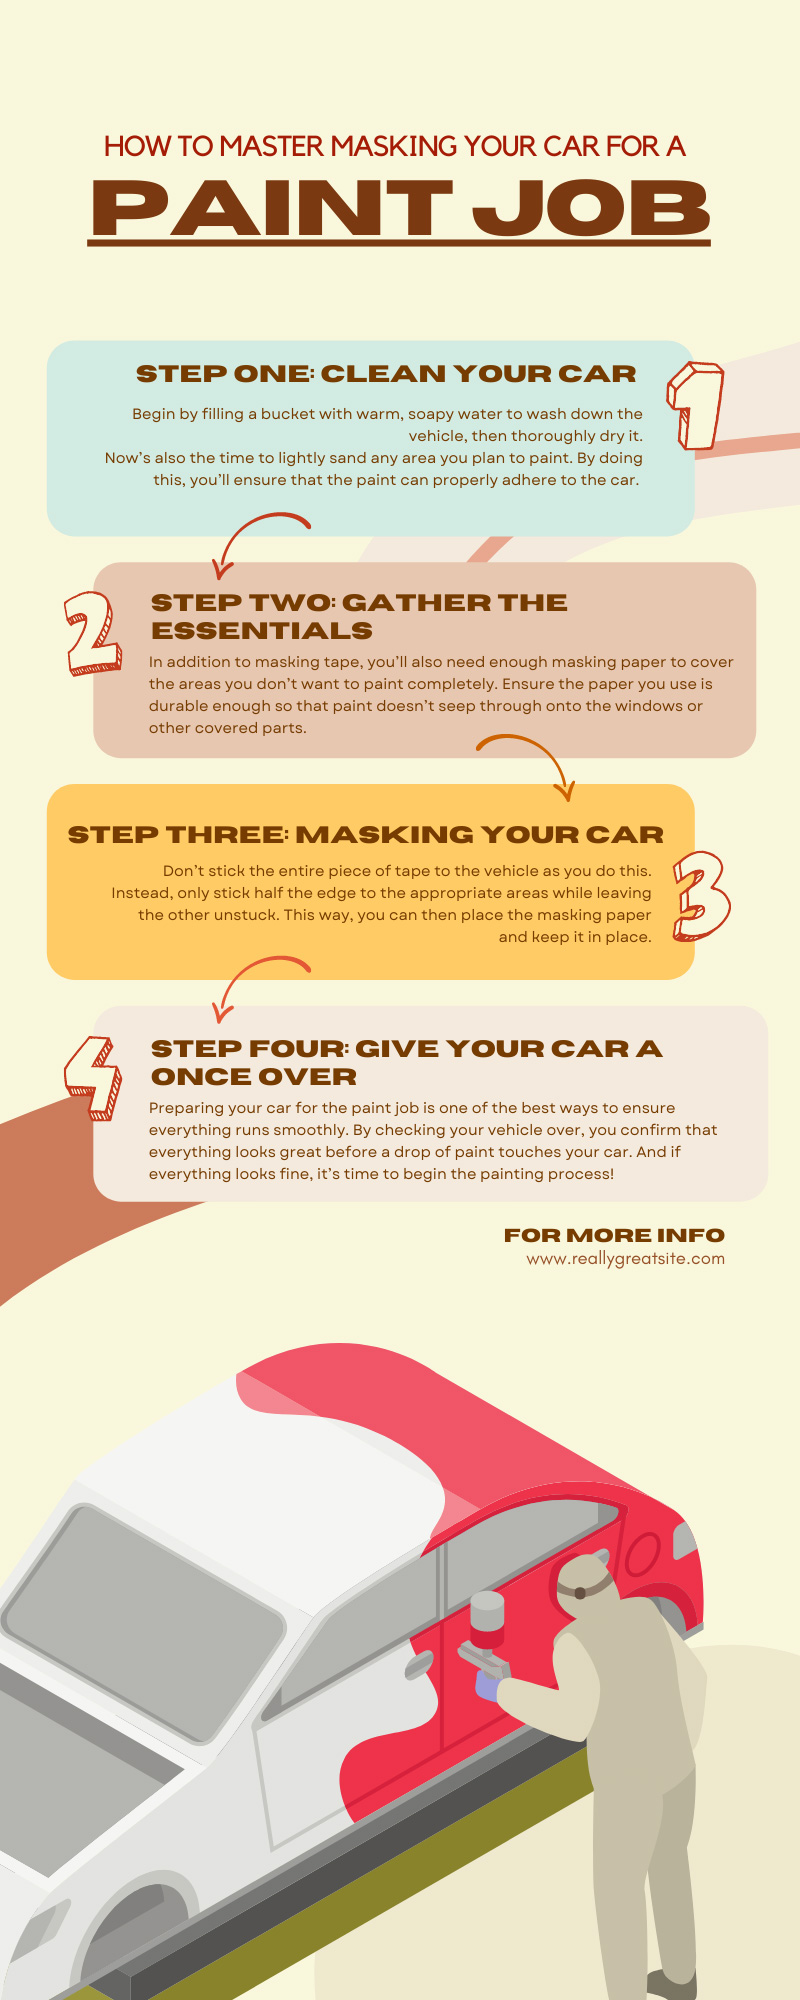
Step One: Clean Your Car
Before preparing all those paint essentials or masking your car, you’ll have to wash it. This will also ready it for painting as you remove any dirt and grime. Begin by filling a bucket with warm, soapy water to wash down the vehicle. Then, dry it thoroughly.
Now’s also the time to lightly sand any area you plan to paint. By doing this, you’ll ensure that the paint can properly adhere to the car. For example, if you recently waxed your car, the paint won’t stick unless you lightly sand it to remove the wax.
Pro-Tip
After painting your car and allowing the paint to completely harden, you can wax it again. Waxing your car is an essential part of the washing process since it protects your vehicle from sun damage.
This also helps lessen the cost of your repairs and diminishes the likelihood of scratches or other damages to your paint occurring. Plus, it reduces the risk of paint damage from various natural elements since debris is less likely to cling to your car.
Step Two: Gather the Essentials
After washing your car, you need to gather all the supplies for masking your vehicle. Whether you’re a DIYer or own a body shop, you should buy your auto body masking tape from National Autobody Wholesalers. We sell our masking tape in bulk, making it perfect for those who regularly detail cars!
Ideally, the masking tape you use should easily adhere to the vehicle, hold the masking paper in place, and leave incredible paint lines once you finish. You’ll also want to ensure that it doesn’t leave any residue. It should come off in one clean piece. Finally, ensure the masking tape you use can hug the curves and edges of your vehicle. This is especially important when you cover areas like your headlights.
In addition to masking tape, you’ll also need enough masking paper to completely cover the areas you don’t want to paint. Ensure the paper you use is durable enough so that paint doesn’t seep through onto the windows or other covered parts.
Using Automotive Masking Tape
You should buy automotive masking tape instead of regular masking tape. This is because vehicle masking tape is thicker and has better adhesion power. You only want the best equipment for these types of projects!
Using Masking Paper
While some people advise using newspaper to save some money, you should avoid doing this. Instead, get masking paper because it’s thick and durable. Due to these qualities, it will protect your car if paint drips on it. Thinner paper could allow the paint to bleed through. Plus, high-quality masking paper won’t flake off or tear if paint drips on it.
Step Three: Masking Your Car
Now that your car is clean and you have all the materials, we can get into how to master masking your car for a paint job. Start by deciding what areas of the vehicle you don’t want to paint since these are the parts you’ll cover. Then, apply your tape around the spots you plan to paint.
Don’t stick the entire piece of tape to the vehicle as you do this. Instead, only stick half the edge to the appropriate areas while leaving the other unstuck. This way, you can then place the masking paper and keep it in place.
You’ll also have to carefully mask essential areas like door handles and lights. When it comes to these parts of the vehicle, experts recommend applying the tape to the inside to prevent paint from seeping into the openings.
Consider using a slightly thinner automotive masking paper as you cover curves and edges since it will be easier to bend. Ideally, you should aim to buy a masking paper that’s durable and thin enough to conform to your vehicle’s shape.
Properly masking the windows is also a critical step in this process since you don’t want paint seeping onto the glass. Ensure all the paper remains perfectly aligned with the edges of the window. You should mask both the glass and surrounding edges to keep the area well protected.
Pro-Tip
Give your masking paper a once-over. If you notice some areas have folds or creases, take time to flatten these out. If you overlook this detail, paint or dirt could blow onto these parts of the car while you work.
Step Four: Give Your Car a Once-Over
Last but not least, give your vehicle a once-over. Make sure all the masking tape is properly aligned and straight. While doing this, you should also check to see if all the appropriate areas remain covered. Remember to press down all the edges for a proper seal; this will prevent the paint from getting onto places you don’t want it to land on.
Preparing your car for the paint job is one of the best ways to ensure everything runs smoothly. By checking your vehicle over, you confirm that everything looks great before a drop of paint touches your car. And if everything looks fine, it’s time to begin the painting process!
Shop at National Autobody Wholesalers
Buying the best supplies for detailing your car is important, so stock up on all the essentials at National Autobody Wholesalers! We have automotive masking tape plus everything you need to paint your vehicle, including primer, clear coat, hardener, and more. Once you’ve stocked up on the must-have items, you can begin the exciting process of repainting your car.